

You probably use it all the time when you're baking.
Your friends probably rave over your pies - don't they?!
My family never passed down such treasures.
I was always vying for the perfect crust.
My friends do rave over my pies but maybe because they have to.
Until now. Now I know they cant be lying about the crust.
I found a wonderful recipe and maybe its not so much the recipe as the execution.
I finally have a food processor! EGADS HOW did I live without this treasure?!
It makes making dough as simple as one, two, pulse!
This recipe was found in our LCBO Food & Drink magazine, Spring 2012 (Liquor Control Board of Ontario), it was part of a pie recipe that I am dying to make (which will come in a few weeks).
I have to say, this is now my go to recipe for a flaky buttery crust.
Enjoy
I'm Listening to: Albatross - Big Wreck
Flaky Pastry Dough
makes enough for 1 9-10" crust1 1/2 c. flour
1/4 tsp. salt
10 tbsp. cold butter cut into cubes
3 tbsp. ice cold water
1/2 tsp. vinegar
egg wash
In the bowl of your food processor pulse together flour and salt to combine. Add in the cubes of butter (half at a time) and pulse until it looks like coarse meal. Sprinkle with water and vinegar and pulse again until it begins to form. If the dough doesn't seem to hold when squeezed between your fingers add more water a tbsp. at a time until it does.
Place dough on a lightly floured surface and turn it into a flattened disc shape. Wrap it in plastic wrap and toss it into the fridge for an hour or so.
Remove the plastic wrap and place on a floured work surface (I happen to have received an awesome gift of a wooden surface with markings and measurements)

Roll out the dough larger (by a few inches) than your pie plate to a thickness of about 1/4 inch.
To transfer the dough to the pie plate gentle drape it over your rolling pin and unroll over your plate.
Form the dough into your plate and leave about an inch or so over hang. At this point you can fold and tuck, you can crimp, you can be as creative as you wish on how you want the edges to look!

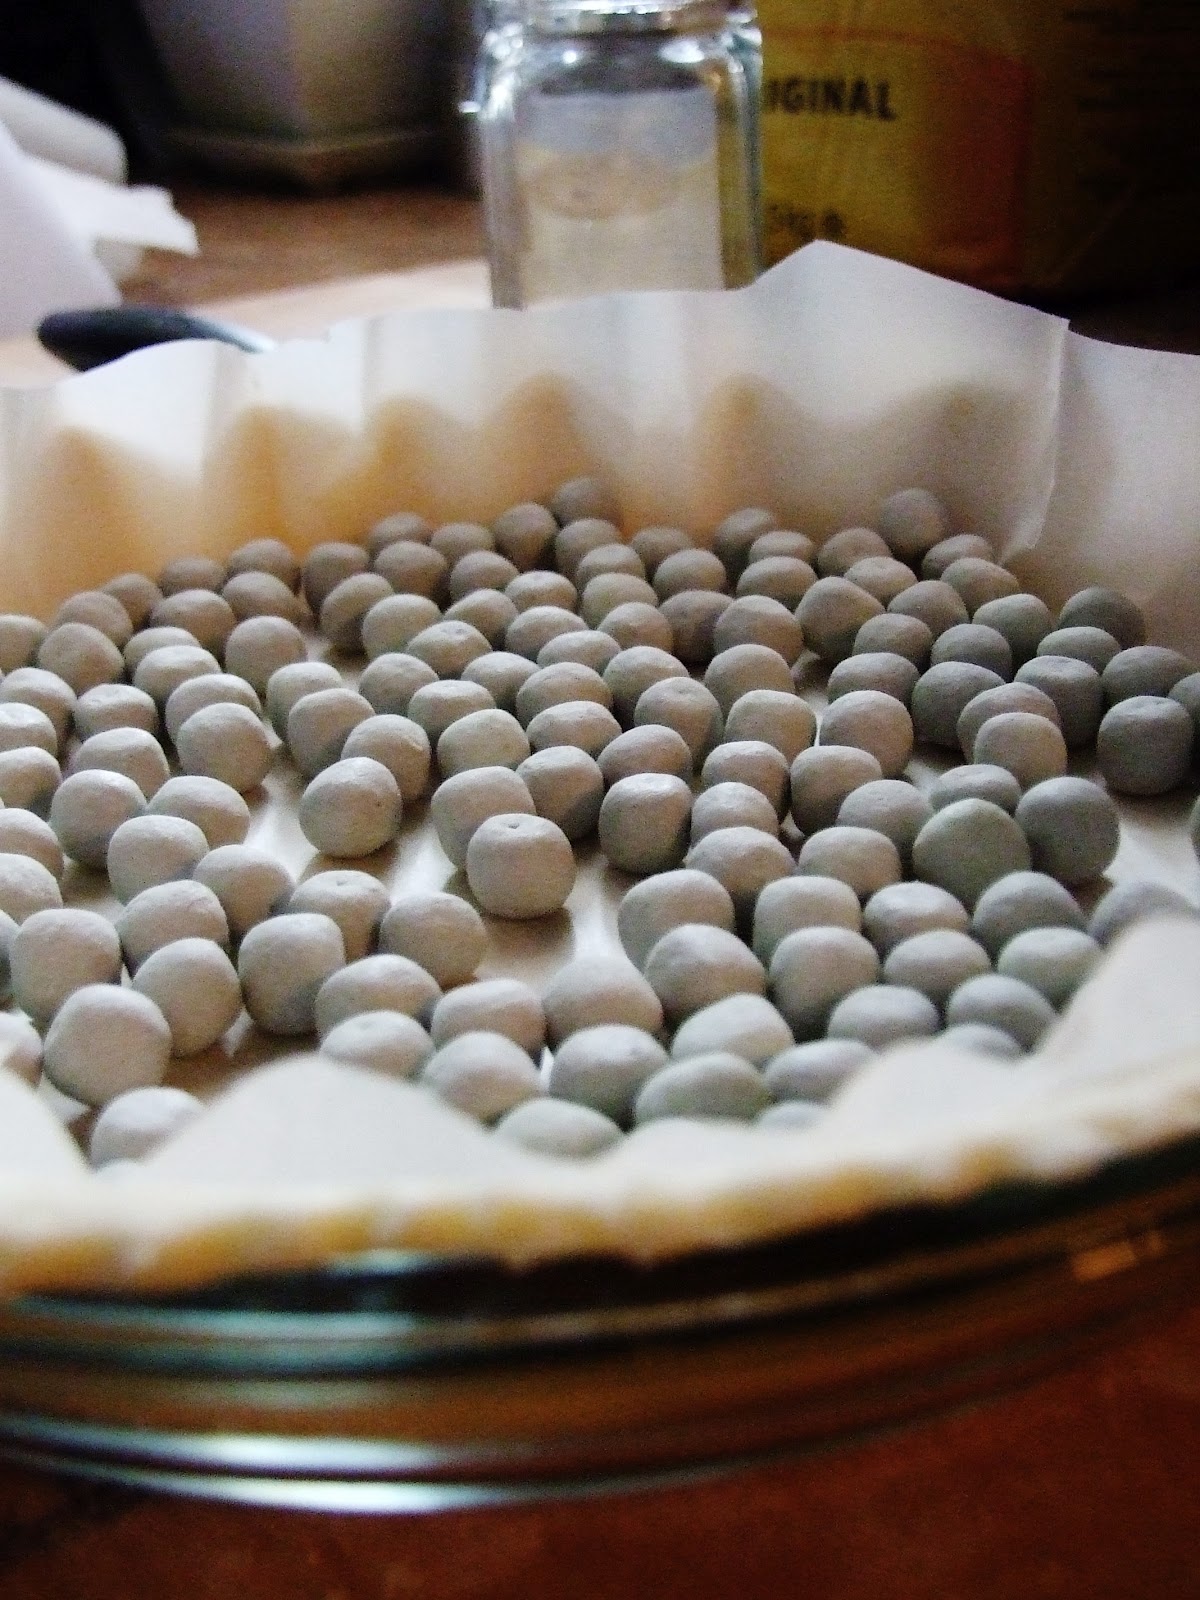
Now I must admit that my crust shrank down (which is the look I was going for) so if you don't want that to happen do not cut the crust to fit just the edges! Prick the dough with a fork all over (to allow for steam to escape) and then cut a piece of parchment paper to fit the pie and add weights (or dried beans or rice). Brush edges with egg wash. (1 egg and a tbsp. of water)
Bake in a preheated 375F oven for about 15 minutes or until the edges are slightly golden. Remove the parchment and weights and continue to bake for another 15-20 minutes until the bottom is crispy (not burnt tho lol)
Cool completely before filling.
I used this for my meyer lemon meringue pie and it was perfect!

I'm totally a failure at crusts...I'm hoping your recipe rescues me!!! oxo Ally :)
ReplyDeleteAlly, its a no fail TRUST ME!
DeleteCongrats on the successful pie crust! I make a decent one but am always willing to try something new and expand my crust collection. This looks great.
ReplyDeleteI was thrilled to find this and now that I've tested it, I am going to use it more often!! Try it out and lemme know what you think :)
DeleteGlad you liked the crust recipe! Now try the pie. ;-)
ReplyDeleteChristopher, did you do the shoot for that issue?!
DeleteYes, and wrote the herb story too!
ReplyDeleteLovely photo! And picked it back up to read the herb story as well :) That pie is on my list to make - I love basil in baking :)
Delete